Deploy a Vue App
Vue, also known as Vue.js or VueJS, is a popular JavaScript library for building snappy, performant and versatile user interfaces for web applications.
Vue prides itself as The Progressive JavaScript Framework.
This guide covers how to deploy a Vue app to Railway in four ways:
Now, let's create a Vue app!
Create a Vue app
Note: If you already have a Vue app locally or on GitHub, you can skip this step and go straight to the Deploy Vue App on Railway.
To create a new Vue app, ensure that you have Node installed on your machine.
Run the following command in your terminal to create a new Vue app using Vite:
You'll be presented with choices for different options in the prompts. Give the app a name, helloworld and answer Yes to the other options or select what you want.
A new Vue app will be provisioned for you in the helloworld directory.
Run the Vue app locally
Next, cd into the directory and install the dependencies.
Start the Vite development server by running the following command:
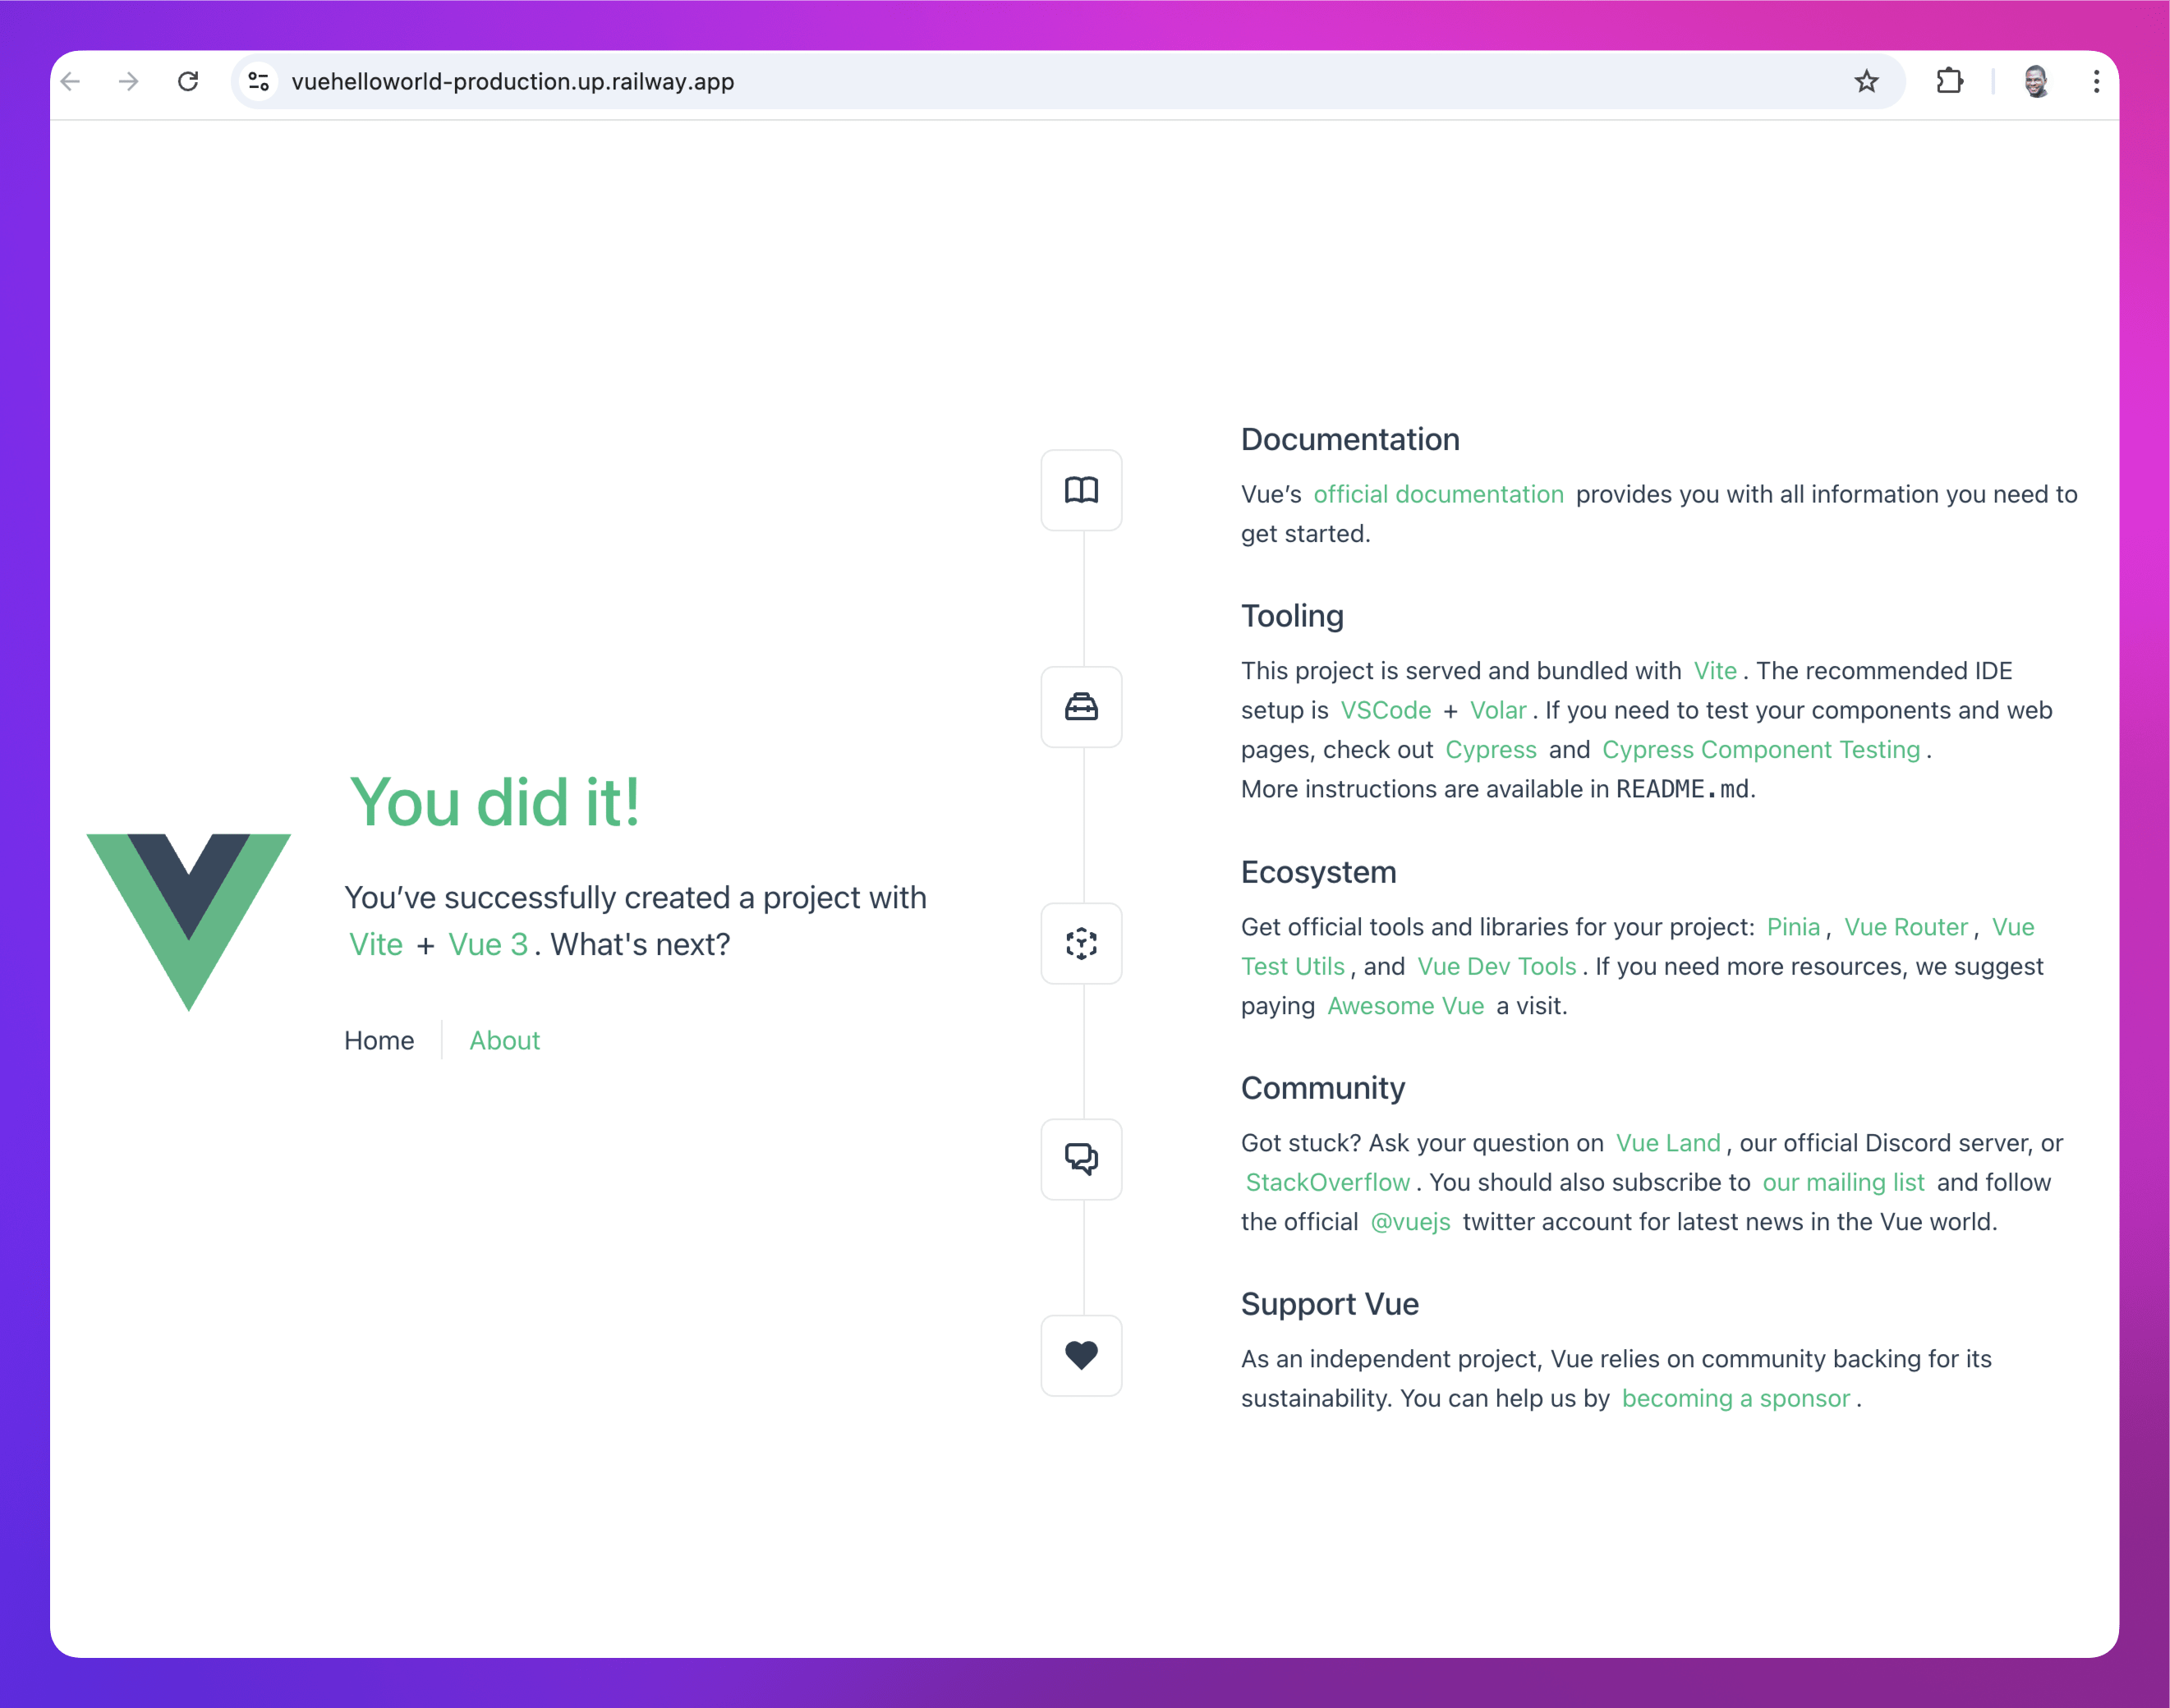
Open your browser and go to http://localhost:5173 to see your app.
Deploy the Vue app to Railway
Railway offers multiple ways to deploy your Vue app, depending on your setup and preference.
One-click deploy from a template
If you’re looking for the fastest way to get started, the one-click deploy option is ideal. It sets up a Vue app with Caddy to serve the dist folder.
Click the button below to begin:

It is highly recommended that you eject from the template after deployment to create a copy of the repo on your GitHub account.
Note: You can also choose from a variety of Vue app templates created by the community.
Deploy from the CLI
- Install the Railway CLI:
- Install the CLI and authenticate it using your Railway account.
- Initialize a Railway Project:
- Run the command below in your Vue app directory.
- Follow the prompts to name your project.
- After the project is created, click the provided link to view it in your browser.
- Run the command below in your Vue app directory.
- Deploy the Application:
- Use the command below to deploy your app:
- This command will scan, compress and upload your app's files to Railway. You’ll see real-time deployment logs in your terminal.
- Once the deployment completes, go to View logs to check if the service is running successfully.
- Use the command below to deploy your app:
- Set Up a Public URL:
- Navigate to the Networking section under the Settings tab of your new service.
- Click Generate Domain to create a public URL for your app.
Deploy from a GitHub repo
To deploy a Vue app to Railway directly from GitHub, follow the steps below:
- Create a New Project on Railway:
- Go to Railway to create a new project.
- Deploy from GitHub:
- Select Deploy from GitHub repo and choose your repository.
- If your Railway account isn’t linked to GitHub yet, you’ll be prompted to do so.
- Select Deploy from GitHub repo and choose your repository.
- Deploy the App:
- Click Deploy to start the deployment process.
- Once the deployed, a Railway service will be created for your app, but it won’t be publicly accessible by default.
- Verify the Deployment:
- Once the deployment completes, go to View logs to check if the server is running successfully.
- Set Up a Public URL:
- Navigate to the Networking section under the Settings tab of your new service.
- Click Generate Domain to create a public URL for your app.
Use a Dockerfile
-
Create a
Dockerfilein thehelloworldor Vue app's root directory. -
Add the content below to the
Dockerfile:The
Dockerfilewill use Caddy to serve the Vue app. -
Add a
Caddyfileto the app's root directory: -
Either deploy via the CLI or from GitHub.
Railway automatically detects the Dockerfile, and uses it to build and deploy the app.
Note: Railway supports also deployment from public and private Docker images.
This guide covers the main deployment options on Railway. Choose the approach that suits your setup, and start deploying your Vue apps seamlessly!
Next steps
Explore these resources to learn how you can maximize your experience with Railway: