Services
A Railway service is a deployment target. Under the hood, services are containers deployed from an image.
Each service keeps a log of deployment attempts and performance metrics.
Variables, source references (e.g. GitHub repository URI), and relevant start and build commands are also stored in the service, among other configuration.
As you create and manage your services, your changes will be collected in a set of staged changes that you must review and deploy, in order to apply them.
Types of services
Persistent services
Services that are always running. Examples include web applications, backend APIs, message queues, database services, etc.
Scheduled jobs
Services that are run until completion, on a defined schedule, also called Cron Jobs.
Creating a service
Create a service by clicking the New button in the top right corner of your project canvas, or by typing new service from the command palette, accessible via CMD + K (Mac) or Ctrl + K(Windows).
Services on Railway can be deployed from a GitHub repository, a local directory, or a Docker image.
Accessing service settings
To access a service's settings, simply click on the service tile from your project canvas and go to the Settings tab.
Service source
A service source can be any of the following - Docker Image, GitHub or Local repository.
If a Dockerfile is found within the source repository, Railway will automatically use it to build an image for the service.
If you've created an empty service, or would like to update the source for a deployed service, you can do so in the Service settings.
Click on the service, go to the Settings tab, and find the Service Source setting.
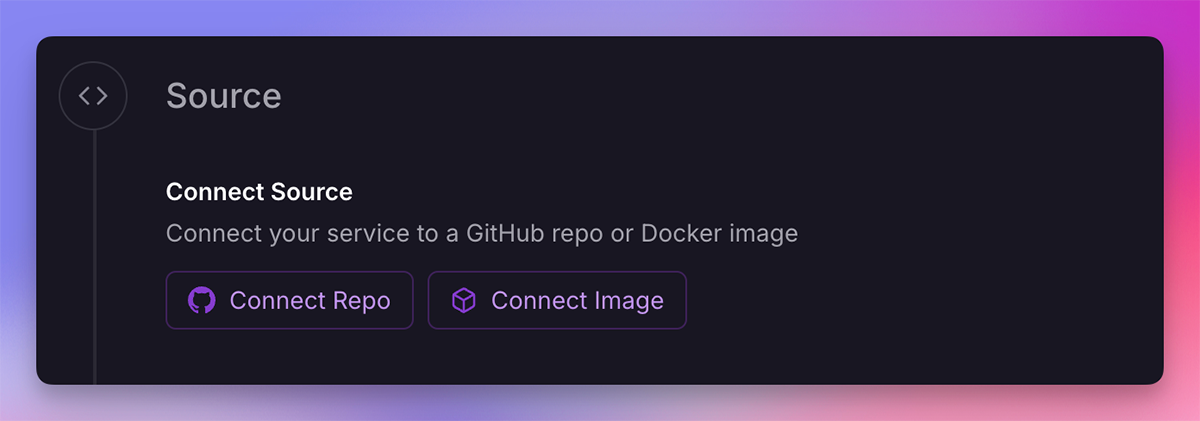
Deploying from a GitHub repo
Define a GitHub repository as your service source by selecting Connect Repo and choosing the repository you'd like to deploy.
When a new commit is pushed to the linked branch, Railway will automatically build and deploy the new code.

You must link your Railway account to GitHub, to enable Railway to connect to your GitHub repositories. You can configure the Railway App in GitHub by clicking this link.
Deploying a public Docker image
To deploy a public Docker image, specify the path of the image when prompted in the creation flow.
Railway can deploy images from Docker Hub, GitHub Container Registry, Quay.io, or GitLab Container Registry. Example paths -
Docker Hub:
bitnami/redis
GitHub Container Registry:
ghcr.io/railwayapp-templates/postgres-ssl:latest
GitLab Container Registry:
registry.gitlab.com/gitlab-cicd15/django-project
Microsoft Container Registry:
mcr.microsoft.com/dotnet/aspire-dashboard
Quay.io:
quay.io/username/repo:tag
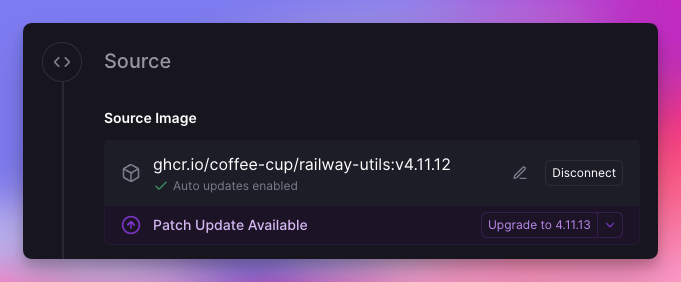
Updating Docker images
Railway automatically monitors Docker images for new versions. When an update is available, an update button appears in your service settings. If your image tag specifies a version (e.g., nginx:1.25.3), updating will stage the new version tag. For tags without versions (e.g., nginx:latest), Railway redeploys the existing tag to pull the latest image digest.
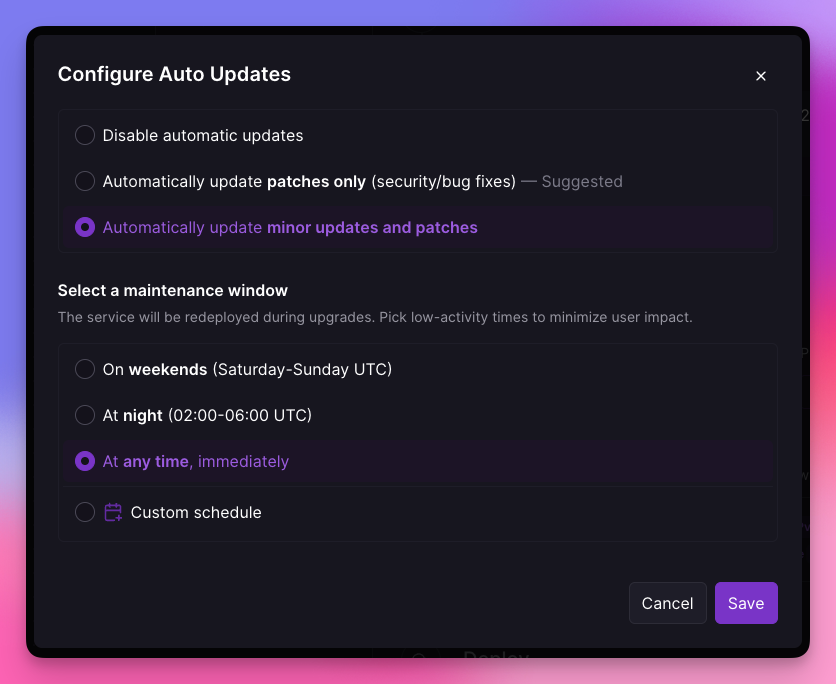
To enable automatic updates, configure the update settings in your service. You can specify an update schedule and maintenance window. Note that automatic updates trigger a redeployment, which may cause brief downtime (typically under 2 minutes) for services with attached volumes.
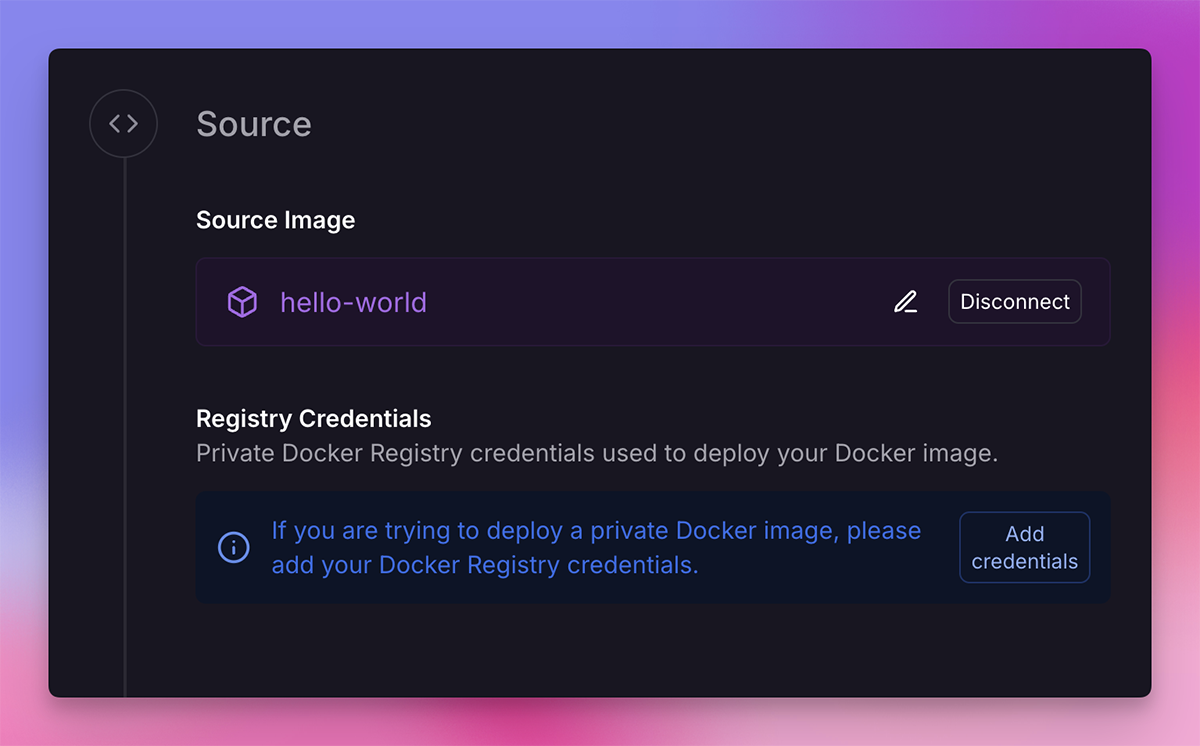
Deploying a private Docker image
Private Docker registry deployments require the Pro plan.
To deploy from a private Docker registry, specify the path of the image when prompted in the creation flow, as well as authentication credentials (username, password) to the registry.
If deploying an image from GitHub Container Registry, provide a personal access token (classic).
Deploying from a local directory
Use the CLI to deploy a local directory to a service -
- Create an Empty Service by choosing
Empty Serviceduring the service creation flow. - In a Terminal, navigate to the directory you would like to deploy.
- Link to your Railway project using the
railway linkCLI command. - Deploy the directory using
railway up. The CLI will prompt you to choose a service target, be sure to choose the empty service you created.
Deploying a monorepo
For information on how to deploy a Monorepo click here.
Ephemeral storage
Every service deployment has access ephemeral storage, with the limits being 1GB on the Free plan and 100GB on a paid plan. If a service deployment consumes more than its ephemeral storage limit, it can be forcefully stopped and redeployed.
If your service requires data to persist between deployments, or needs more storage, you should add a volume.
Monitoring
Logs, metrics, and usage information is available for services and projects. Check out the observability guides for information on how to track this data.
Changing the service icon
Customize your project canvas for easier readability by changing the service icon.
- Right click on the service
- Choose
Update Info - Choose
Icon - Begin typing to see a list of available icons, pulled from the devicons service.
You can also access this configuration from the command palette.
Approving a deployment
If a member of a GitHub repo doesn't have a linked Railway account. Railway by default will not deploy any pushes to a connected GitHub branch within Railway.
Railway will then create a Deployment Approval within a Service prompting a user to determine if they want to deploy their commit or not.

Deploy the queued deployment by clicking the "Approve" button. You can dismiss the request by clicking the three dots menu and clicking "Reject".
Templates
A template is a pre-configured group of services. A template can be used to start a project or to expand an existing project.
Constraints
- Service names have a max length of 32 characters.
Deleting a service
Delete a service by opening the project's settings and scrolling to the danger section.